


I have just wrapped up another terrain project and I’m really excited about how it turned out!
I tested out some faster painting techniques—using filament colour, sponge weathering, and a few happy accidents—and the results came together better than I hoped.
If you want to see how I did it (and maybe steal a few tricks for your own builds), head over to my latest video:
Everything in this build is part of my upcoming Kickstarter, The Training Grounds—a modular terrain system with themed flavor packs to customize your tabletop any way you want. Check out the Kickstarter pre-launch page here:
https://www.kickstarter.com/projects/kathymillatt/the-training-grounds?ref=8mb3ye
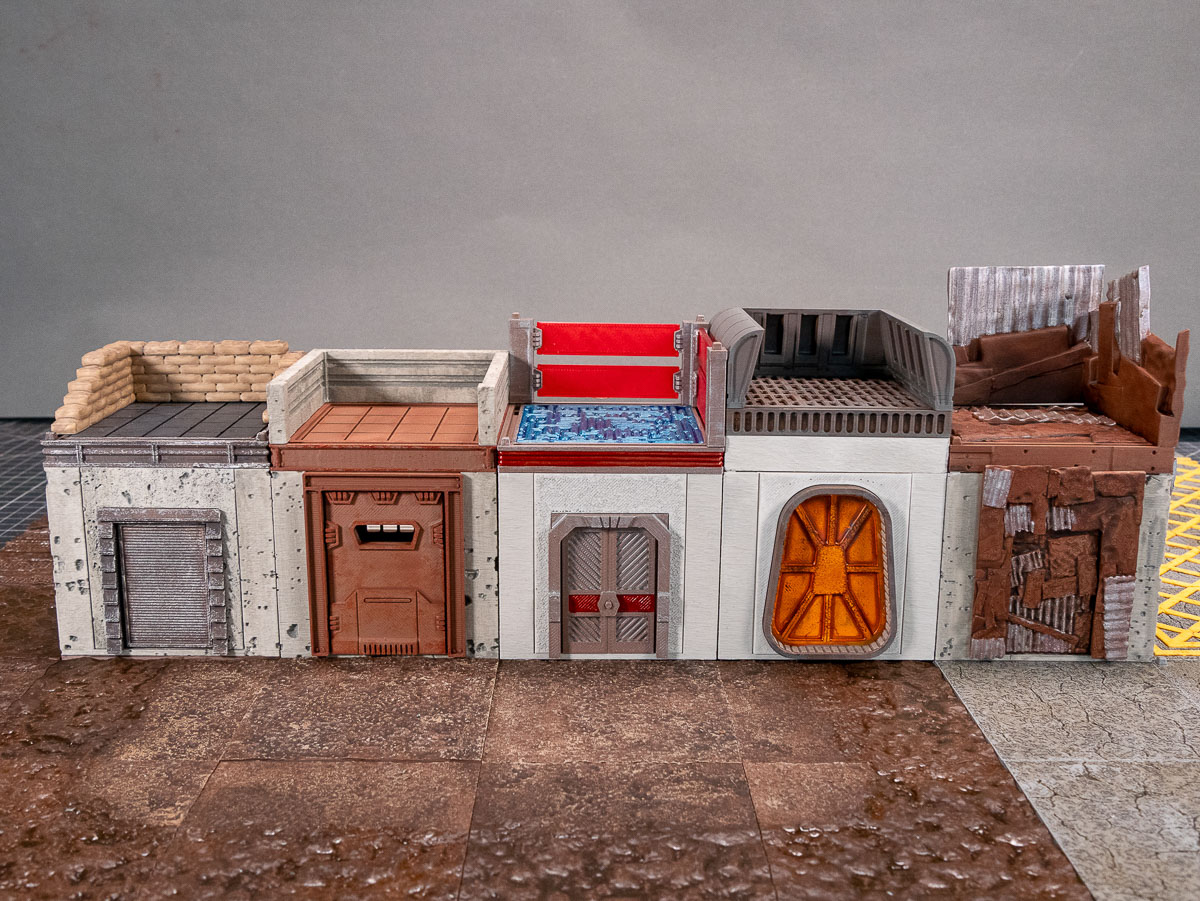
Let’s be honest—painting terrain can be a real time sink. If you’re like me, you’ve probably lost hours base coating, layering and weathering endless buildings and scatter pieces. That’s why I’m always on the lookout for ways to speed things up without sacrificing the look. In this post, I’ll walk you through how I painted a full set of 3D printed buildings using some quick tricks and a bit of creative problem solving.
Let the Filament Work for You
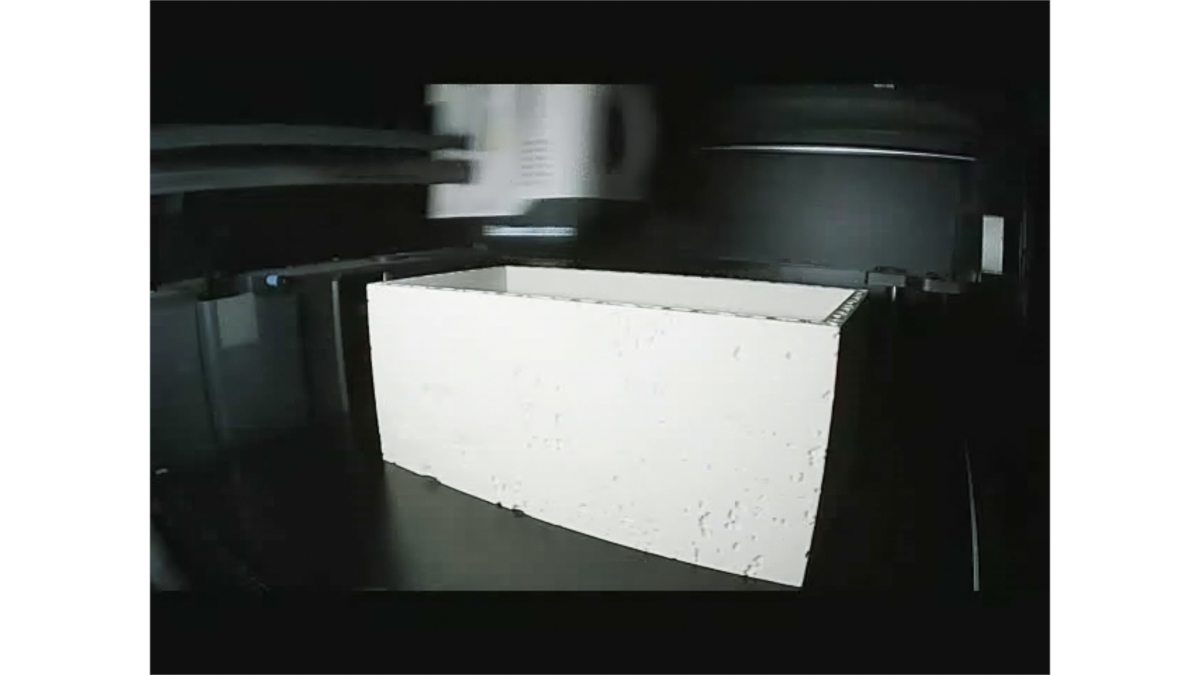
My first big tip? Use the colour of the filament to your advantage. I printed most of these pieces in matte Bambu bone white and matte dark brown. Matte filament helps take the shine off, so the models don’t scream “plastic” and the paint sticks to it without primer. Even better, I printed at 0.08 layer height, which made the lines nearly invisible. That meant I could skip the base coat altogether—no more hauling minis outside to prime and paint all sides with a rattle can. I went straight into weathering, and that alone saved me hours.
Straight to Weathering (But Be Careful)
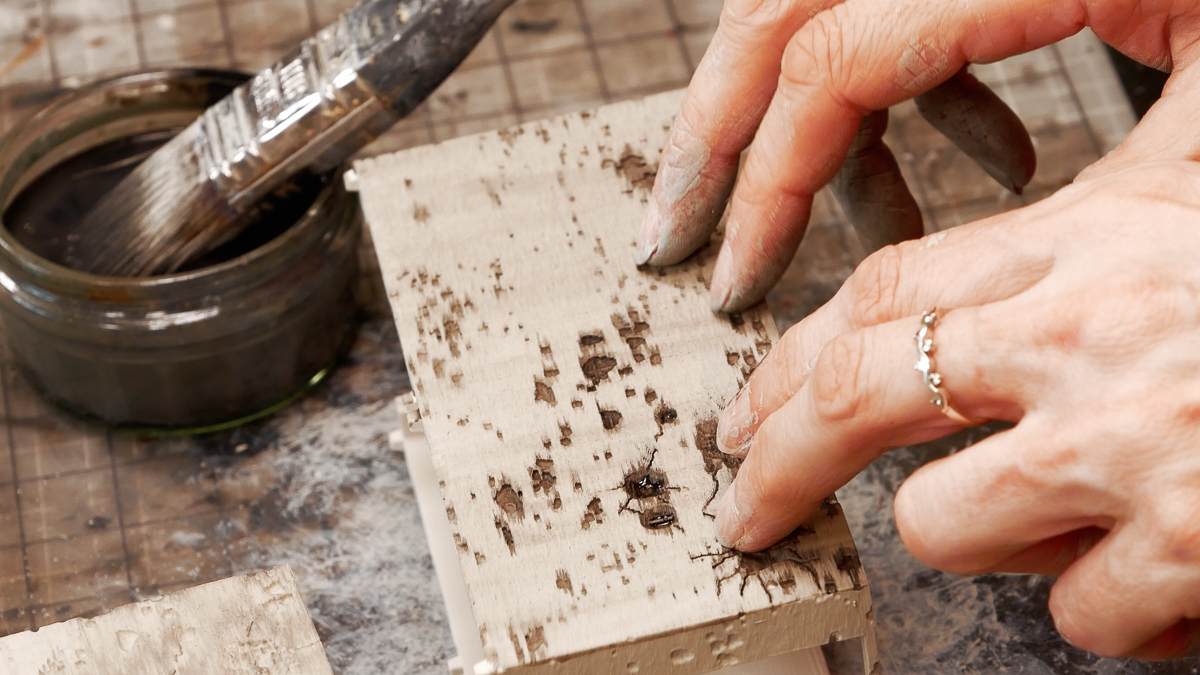
I started with a greige wash — basically grey with a touch of raw umber — and thinned it with water so it flowed nicely over the surfaces. Fair warning: if you over-thin your wash, it can backfire. In my case, the wash looked fine while wet, but when it dried, it went blotchy. The pigment wicked out of the recesses and left strange ring marks.
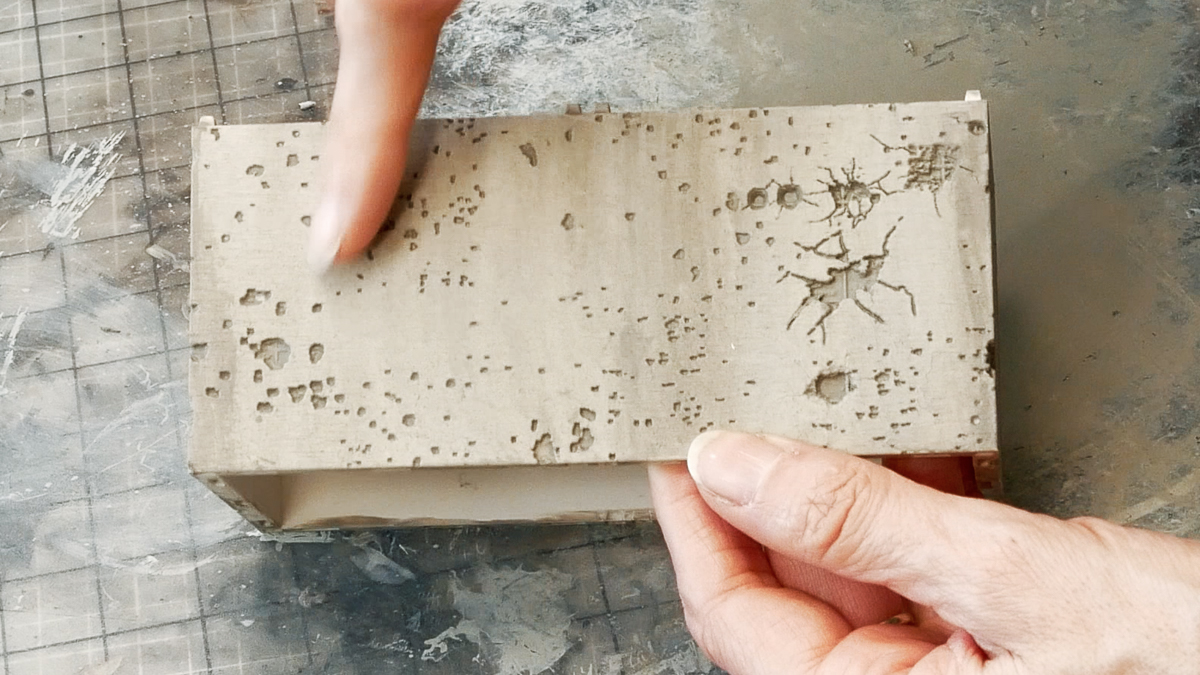
So how do you fix it? Two things helped: first, I made the wash thicker so the pigment stayed put; second, I adjusted the colour to be closer to the base tone. Surprisingly, a too-dark wash can look worse than a lighter one—so don’t be afraid to keep things subtle.
The Power of the Sponge
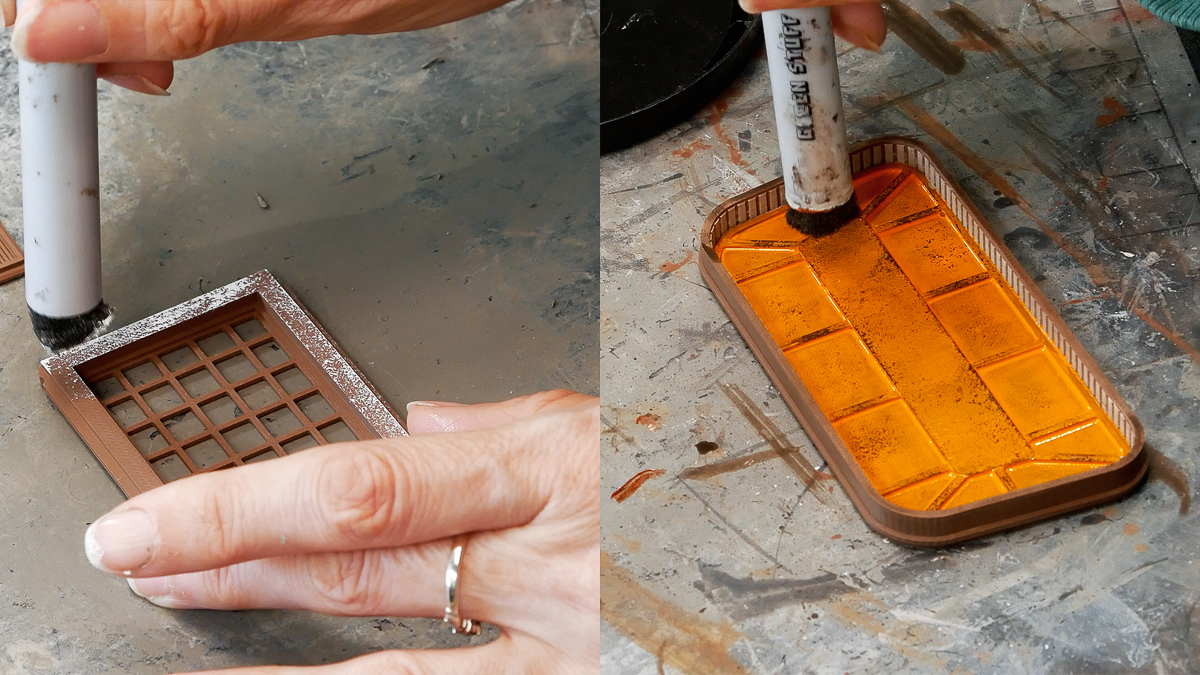
Drybrushing is fine, but if you really want to disguise layer lines and get a more organic feel, sponge painting is the way to go. I used weathering and makeup sponges with artist acrylics — no need for expensive paints here, just make sure the pigment is fine enough to avoid a chalky look.
Start with a bit of white, buff titanium or raw umber and sponge it on. It catches the raised areas nicely and gives some variety. For roofs, I used a thinned dark grey-black (never pure black — it’s too harsh), and for details like sandbags, I mixed in washes with browns and reds until I found something that looked realistic.
Wrapping It Up
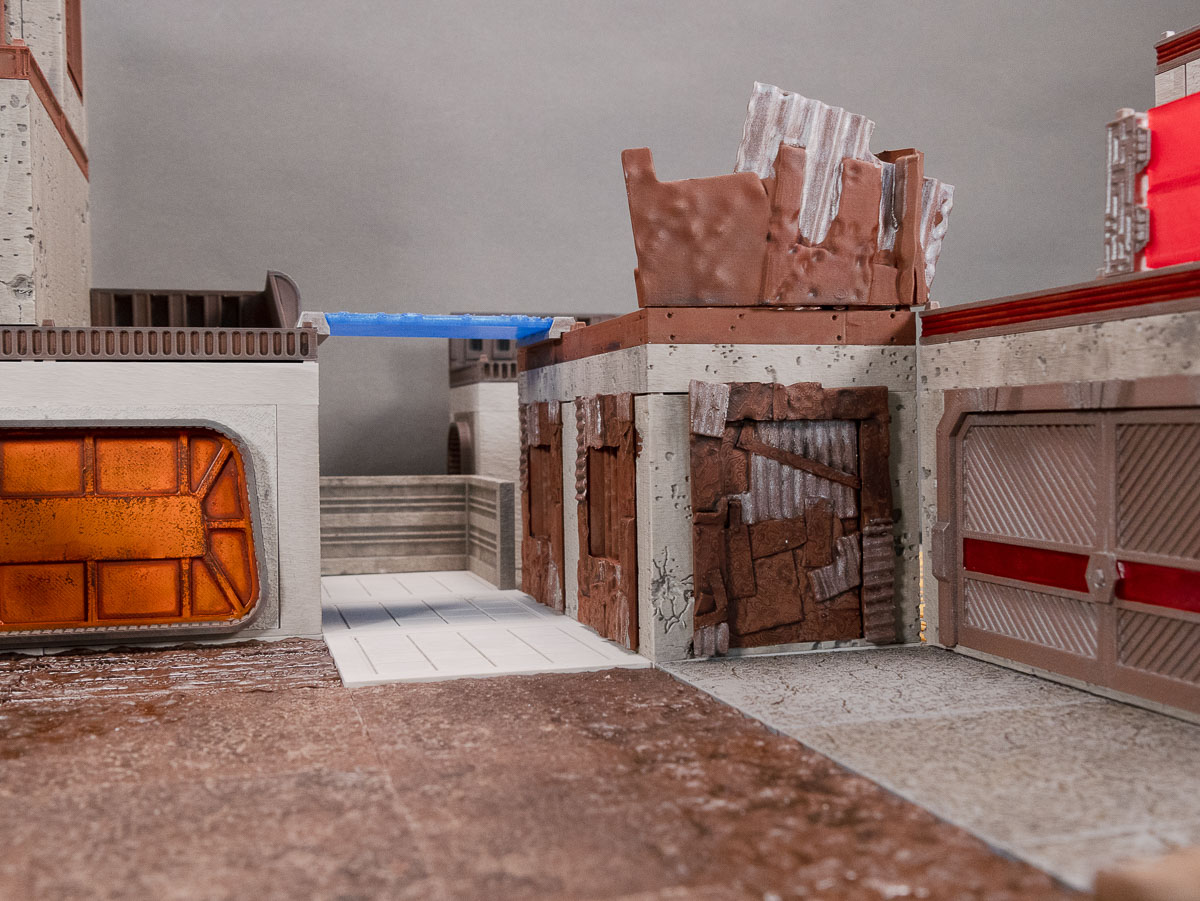
You can see the final results on some of my completed terrain tile sets above and below. I think these simple techniques really come together to create a fast and great-looking tabletop—perfect for your next miniatures game.
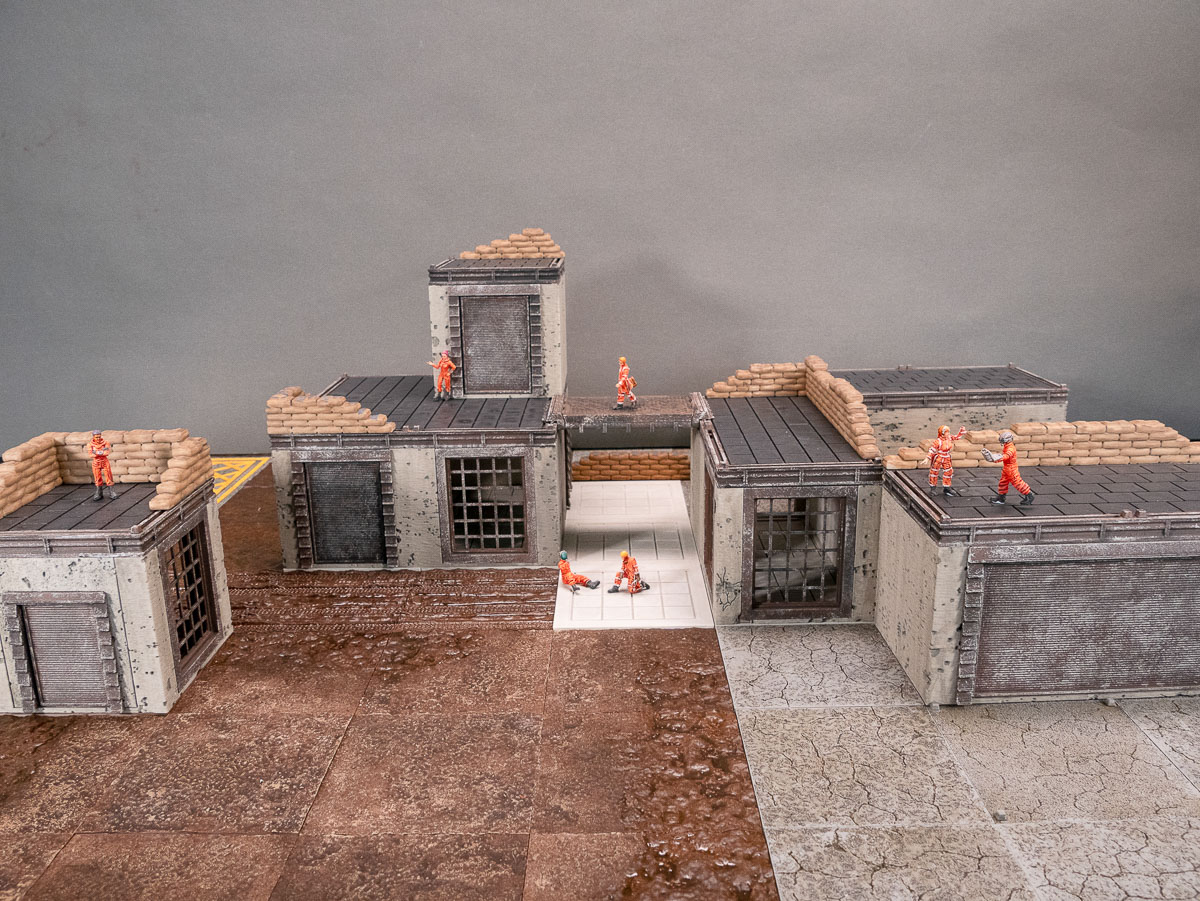
These buildings and flavour packs are all part of my upcoming Kickstarter: The Training Grounds. You’ll get the core terrain set and can choose any — or all — of the five themed packs. If that sounds like your kind of project, be sure to sign up for the pre-launch page. I’m really proud of how it’s turned out, and I can’t wait to get it in your hands.
Thanks for reading — see you next time and happy painting!
Kathy
https://www.kickstarter.com/projects/kathymillatt/the-training-grounds?ref=8mb3ye